Running Flatcar Container Linux on DigitalOcean
On Digital Ocean, users can upload Flatcar Container Linux as a custom image . Digital Ocean offers a quick start guide that walks you through the process.
In some cases upload of bzip2 compressed custom images has been seen to timeout/fail. In those cases we recommend re-compressing the image files usinggzipand uploading to a custom location.
The import URL should be https://<channel>.release.flatcar-linux.net/amd64-usr/<version>/flatcar_production_digitalocean_image.bin.bz2. See the
release page
for version and channel history.
For more details, check out Launching via the API .
At the end of the document there are instructions for deploying with Terraform.
Butane Configs
Flatcar Container Linux allows you to configure machine parameters, configure networking, launch systemd units on startup, and more via Butane Configs. These configs are then transpiled into Ignition configs and given to booting machines. Head over to the docs to learn about the supported features . Note that DigitalOcean doesn’t allow an instance’s userdata to be modified after the instance has been launched. This isn’t a problem since Ignition only runs on the first boot.
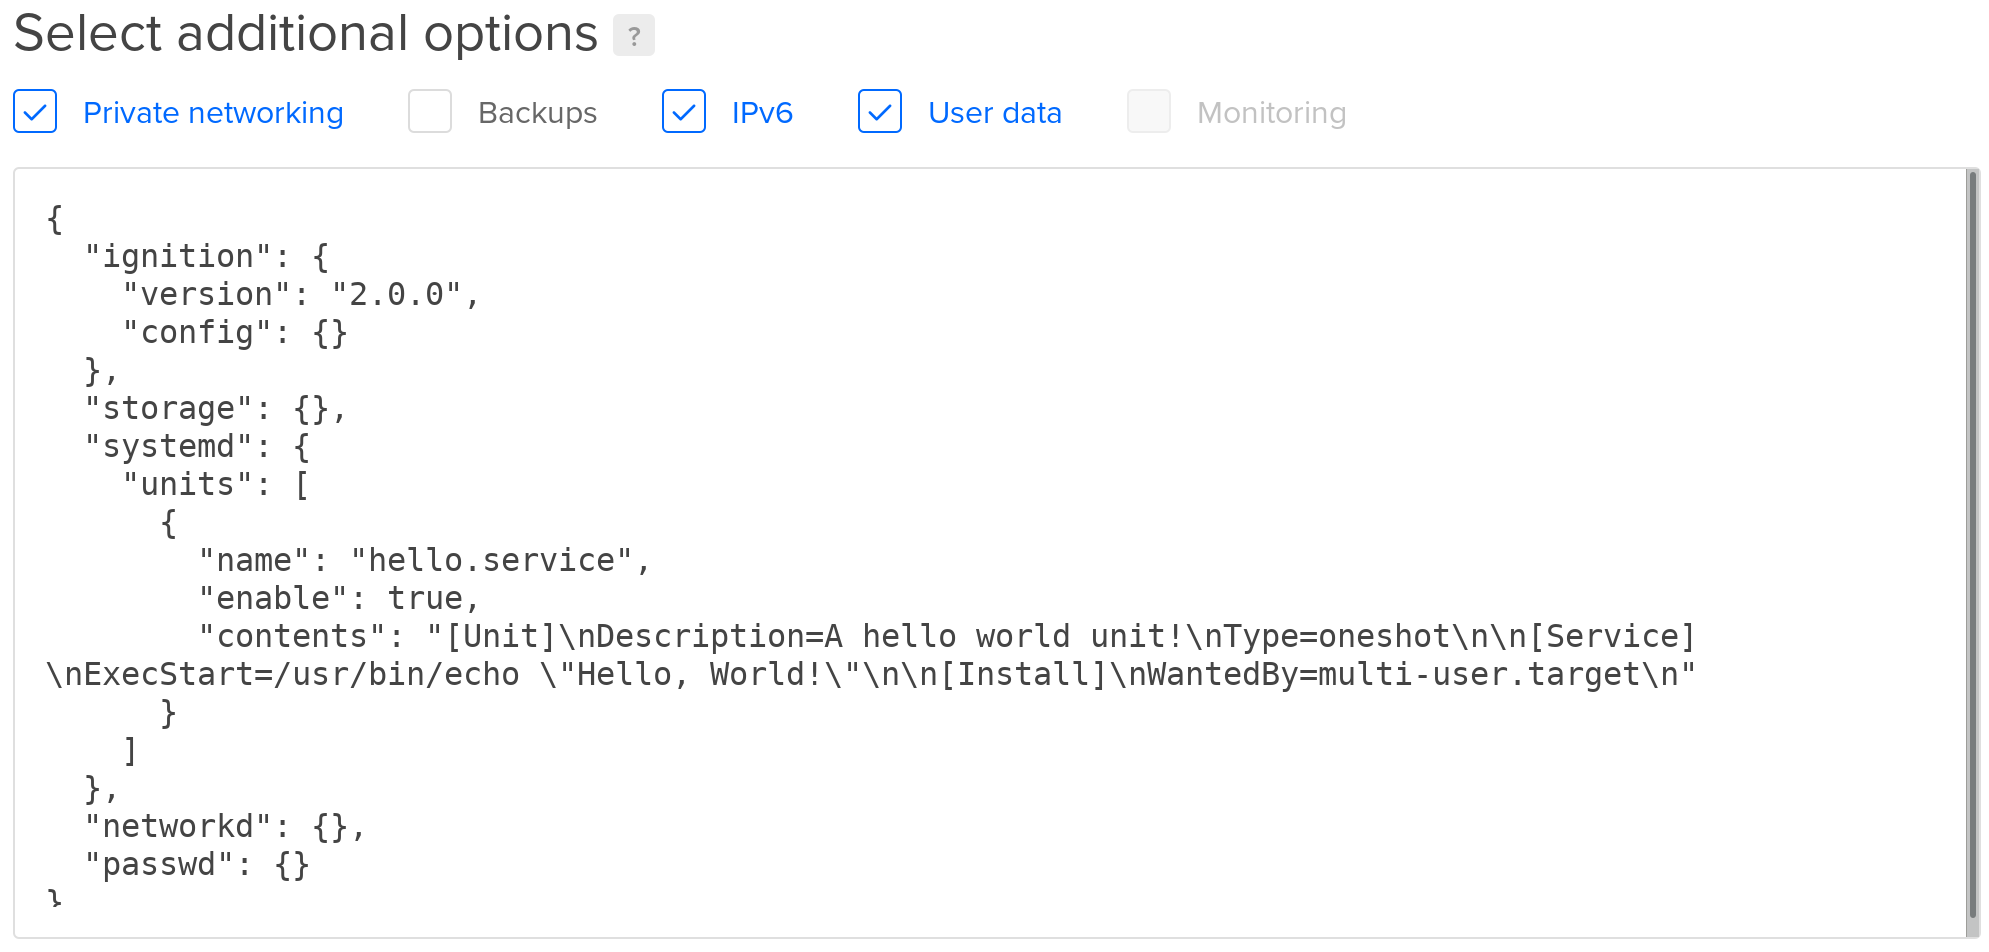
You can provide a raw Ignition JSON config to Flatcar Container Linux via the DigitalOcean web console or via the DigitalOcean API .
As an example, this Butane YAML config will start an NGINX Docker container:
variant: flatcar
version: 1.0.0
systemd:
  units:
    - name: nginx.service
      enabled: true
      contents: |
        [Unit]
        Description=NGINX example
        After=docker.service
        Requires=docker.service
        [Service]
        TimeoutStartSec=0
        ExecStartPre=-/usr/bin/docker rm --force nginx1
        ExecStart=/usr/bin/docker run --name nginx1 --pull always --log-driver=journald --net host docker.io/nginx:1
        ExecStop=/usr/bin/docker stop nginx1
        Restart=always
        RestartSec=5s
        [Install]
        WantedBy=multi-user.target
Transpile it to Ignition JSON:
cat cl.yaml | docker run --rm -i quay.io/coreos/butane:latest > ignition.json
Adding more machines
To add more instances to the cluster, just launch more with the same Butane Config. New instances will join the cluster regardless of region.
SSH to your droplets
Container Linux is set up to be a little more secure than other DigitalOcean images. By default, it uses the core user instead of root and doesn’t use a password for authentication. You’ll need to add an SSH key(s) via the web console or add keys/passwords via your Ignition config in order to log in.
To connect to a droplet after it’s created, run:
ssh core@<ip address>
Launching droplets
Via the API
For starters, generate a Personal Access Token and save it in an environment variable:
read TOKEN
# Enter your Personal Access Token
Upload your SSH key via DigitalOcean’s API or the web console. Retrieve the SSH key ID via the “list all keys” method:
curl --request GET "https://api.digitalocean.com/v2/account/keys" \
     --header "Authorization: Bearer $TOKEN"
Save the key ID from the previous command in an environment variable:
read SSH_KEY_ID
# Enter your SSH key ID
If not done yet, create a custom image from the current Flatcar Container Linux Stable version:
VER=$(curl https://stable.release.flatcar-linux.net/amd64-usr/current/version.txt | grep -m 1 FLATCAR_VERSION_ID= | cut -d = -f 2)
curl --request POST "https://api.digitalocean.com/v2/images" \
     --header "Content-Type: application/json" \
     --header "Authorization: Bearer $TOKEN" \
     --data '{
       "name": "flatcar-stable-'$VER'",
       "url": "https://stable.release.flatcar-linux.net/amd64-usr/current/flatcar_production_digitalocean_image.bin.bz2",
       "distribution": "CoreOS",
       "region": "nyc3",
       "description": "Flatcar Container Linux",
       "tags":["stable"]}'
Save the numeric image ID from the previous command in an environment variable:
read IMAGE_ID
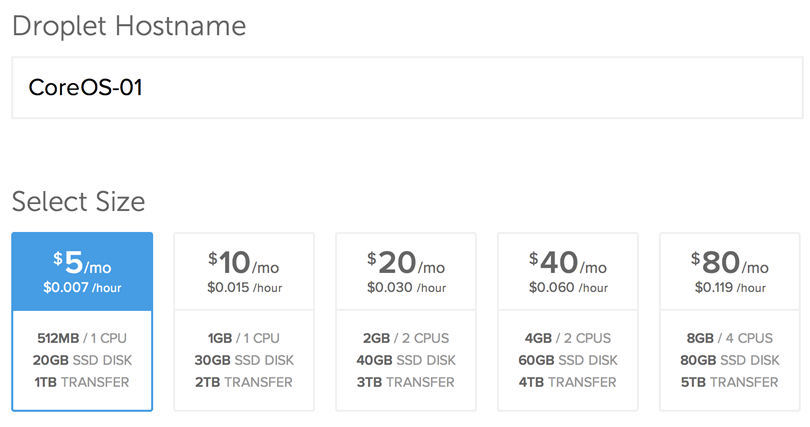
Create a 512MB droplet with private networking in NYC3 from the image create above and an Ignition JSON configuration file config.ign in your current directory:
curl --request POST "https://api.digitalocean.com/v2/droplets" \
     --header "Content-Type: application/json" \
     --header "Authorization: Bearer $TOKEN" \
     --data '{
      "region":"nyc3",
      "image":"'$IMAGE_ID'",
      "size":"512mb",
      "name":"core-1",
      "private_networking":true,
      "ssh_keys":['$SSH_KEY_ID'],
      "user_data": "'"$(cat config.ign | sed 's/"/\\"/g')"'"
}'
For more details, check out DigitalOcean’s API documentation .
Via the web console
- Open the “new droplet” page in the web console.
- Give the machine a hostname, select the size, and choose a region.
Note that DigitalOcean is not able to inject a root password into Flatcar Container Linux images like it does with other images. You’ll need to add your keys via the web console or add keys or passwords via your Butane Config in order to log in.
Using Flatcar Container Linux
Now that you have a machine booted it is time to play around. Check out the Flatcar Container Linux Quickstart guide or dig into more specific topics .
Terraform
The
digitalocean
Terraform Provider allows to deploy machines in a declarative way.
Read more about using Terraform and Flatcar
here
.
The following Terraform v0.13 module may serve as a base for your own setup. It will also take care of registering your SSH key at Digital Ocean and creating a custom image.
You can clone the setup from the Flatcar Terraform examples repository or create the files manually as we go through them and explain each one.
git clone https://github.com/flatcar/flatcar-terraform.git
# From here on you could directly run it, TLDR:
cd digitalocean
export DIGITALOCEAN_TOKEN=...
terraform init
# Edit the server configs or just go ahead with the default example
terraform plan
terraform apply
Start with a digitaloecan-droplets.tf file that contains the main declarations:
terraform {
  required_version = ">= 0.13"
  required_providers {
    digitalocean = {
      source  = "digitalocean/digitalocean"
      version = "2.5.1"
    }
    ct = {
      source  = "poseidon/ct"
      version = "0.7.1"
    }
    template = {
      source  = "hashicorp/template"
      version = "~> 2.2.0"
    }
    null = {
      source  = "hashicorp/null"
      version = "~> 3.0.0"
    }
  }
}

resource "digitalocean_ssh_key" "first" {
  name       = var.cluster_name
  public_key = var.ssh_keys.0
}

resource "digitalocean_custom_image" "flatcar" {
  name   = "flatcar-stable-${var.flatcar_stable_version}"
  url    = "https://stable.release.flatcar-linux.net/amd64-usr/${var.flatcar_stable_version}/flatcar_production_digitalocean_image.bin.bz2"
  regions = [var.datacenter]
}

resource "digitalocean_droplet" "machine" {
  for_each  = toset(var.machines)
  name      = "${var.cluster_name}-${each.key}"
  image     = digitalocean_custom_image.flatcar.id
  region    = var.datacenter
  size      = var.server_type
  ssh_keys  = [digitalocean_ssh_key.first.fingerprint]
  user_data = data.ct_config.machine-ignitions[each.key].rendered
}

data "ct_config" "machine-ignitions" {
  for_each = toset(var.machines)
  content  = data.template_file.machine-configs[each.key].rendered
}

data "template_file" "machine-configs" {
  for_each = toset(var.machines)
  template = file("${path.module}/machine-${each.key}.yaml.tmpl")

  vars = {
    ssh_keys = jsonencode(var.ssh_keys)
    name     = each.key
  }
}
Create a variables.tf file that declares the variables used above:
variable "machines" {
  type        = list(string)
  description = "Machine names, corresponding to machine-NAME.yaml.tmpl files"
}

variable "cluster_name" {
  type        = string
  description = "Cluster name used as prefix for the machine names"
}

variable "ssh_keys" {
  type        = list(string)
  description = "SSH public keys for user 'core' (and to register on Digital Ocean for the first)"
}

variable "server_type" {
  type        = string
  default     = "s-1vcpu-1gb"
  description = "The server type to rent"
}

variable "datacenter" {
  type        = string
  description = "The region to deploy in"
}

variable "flatcar_stable_version" {
  type        = string
  description = "The Flatcar Stable release you want to use for the initial installation, e.g., 2605.12.0"
}
An outputs.tf file shows the resulting IP addresses:
output "ip-addresses" {
  value = {
    for key in var.machines :
    "${var.cluster_name}-${key}" => digitalocean_droplet.machine[key].ipv4_address
  }
}
Now you can use the module by declaring the variables and a Container Linux Configuration for a machine.
First create a terraform.tfvars file with your settings:
cluster_name           = "mycluster"
machines               = ["mynode"]
datacenter             = "nyc3"
ssh_keys               = ["ssh-rsa AA... [email protected]"]
flatcar_stable_version = "x.y.z"
You can resolve the latest Flatcar Stable version with this shell command:
curl -sSfL https://stable.release.flatcar-linux.net/amd64-usr/current/version.txt | grep -m 1 FLATCAR_VERSION_ID= | cut -d = -f 2
The machine name listed in the machines variable is used to retrieve the corresponding
Butane Config
.
For each machine in the list, you should have a machine-NAME.yaml.tmpl file with a corresponding name.
For example, create the configuration for mynode in the file machine-mynode.yaml.tmpl:
---
passwd:
  users:
    - name: core
      ssh_authorized_keys:
        - ${ssh_keys}
storage:
  files:
    - path: /home/core/works
      filesystem: root
      mode: 0755
      contents:
        inline: |
          #!/bin/bash
          set -euo pipefail
           # This script demonstrates how templating and variable substitution works when using Terraform templates for Container Linux Configs.
          hostname="$(hostname)"
          echo My name is ${name} and the hostname is $${hostname}
Finally, run Terraform v0.13 as follows to create the machine:
export DIGITALOCEAN_TOKEN=...
terraform init
terraform apply
Log in via ssh core@IPADDRESS with the printed IP address (maybe add -o StrictHostKeyChecking=no -o UserKnownHostsFile=/dev/null).
When you make a change to machine-mynode.yaml.tmpl and run terraform apply again, the machine will be replaced.
You can find this Terraform module in the repository for Flatcar Terraform examples .